CALL FOR A FREE QUOTE TODAY!

9 Tips for a Flawless Drywall Installation
Installing drywall in your home or business is a labor intensive job. Knowing the proper steps can help you manage a project and ensure the team you hire is experienced and knowledgeable.
John Sheehan
3/19/20253 min read
Introduction to Drywall Installation
Achieving a flawless drywall finish is crucial, whether you're a homeowner embarking on a DIY project or a seasoned contractor managing a job.
Proper planning and execution can make the difference between a simple installation and a labor-intensive nightmare. In this blog post, we will explore ten essential tips to help you avoid common pitfalls, improve efficiency, and ensure a seamless drywall installation.
1. Choose the Right Materials
The first step in any drywall installation project is selecting the appropriate materials. Not all drywall is created equal.
Familiarize yourself with the different types available, such as standard, moisture-resistant, and soundproof drywall. Choosing the right materials based on your specific environment and project requirements can save you time and money in the long run.
2. Measure Accurately
Accurate measurements are key to a successful drywall installation. Taking precise measurements will allow you to minimize waste and ensure that the panels fit snugly into place. Always double-check your dimensions and remember to account for any windows, doors, or irregularities in your space. This is where your walls and ceilings begin looking like a giant puzzle. But don't worry, it will all look like one smooth surface if finished properly.
3. Prepare Your Space
Before you start installing drywall, proper preparation of your workspace is essential. Clear the area of any furniture, fixtures, or debris that could hinder your progress. Additionally, ensure that the framing is secure. There should be wood or metal to screw all sides of the drywall panels. Any gaps in framing will cause the drywall to move and cause cracks in your finished walls and ceilings.
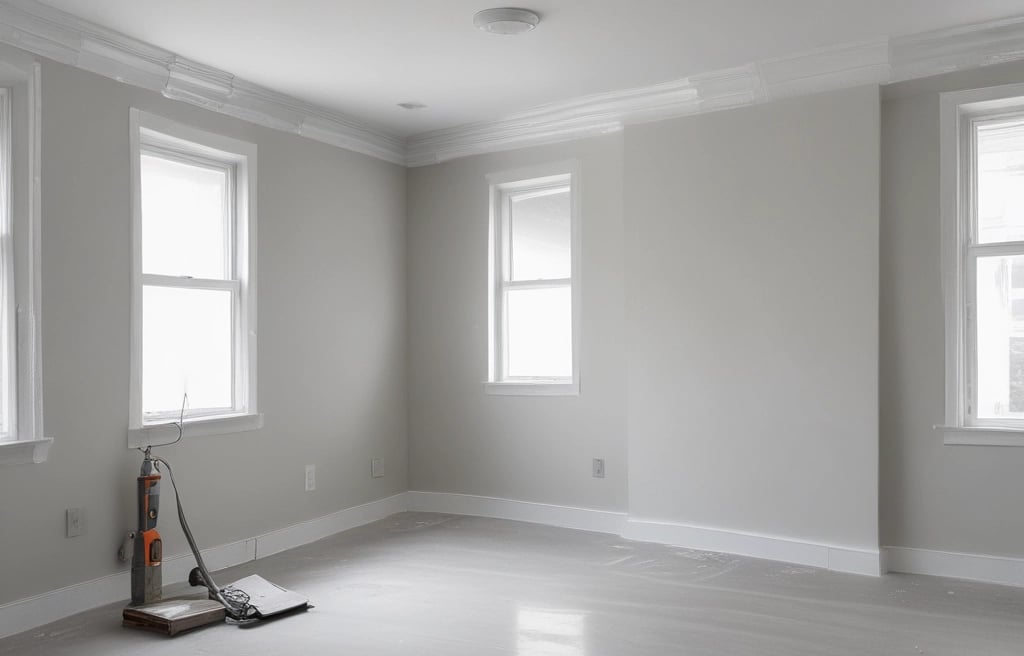
4. Optimize Dust Control
Drywall installation can create a significant amount of dust. Consider using plastic sheeting to seal off the area and minimize dust spreading to other rooms. Utilizing a vacuum sander can also help reduce airborne dust particles and maintain a cleaner environment for your work. Open windows if possible and use a clean shop vac to do a thorough cleaning after sanding
5. Use Proper Taping Techniques
Proper taping is crucial for a smooth finish. Be sure to apply the tape correctly by using all purpose joint compound to secure it in place. Press the tape firmly before applying a second and third layer of compound to ensure there are no air pockets. Pay attention to the corners and edges, as these areas often require extra care. Taping over loose paper will result in bubbles and cracks in your finished walls and ceilings.
An the finishing products have a huge impact on the durability of the finished product. Be careful about using lightweight joint compound. Especially on the first couple coats.
6. Master Finishing Skills
Applying mud, or joint compound, is an art form that requires practice. Start with thin layers and build up gradually to achieve a smooth finish. Allow sufficient drying time between coats, and don’t rush the process. The goal is to achieve an even and professional-quality surface.
7. Sanding for the Perfect Finish
Once the mud has dried, sanding is necessary to remove any imperfections. Use a fine-grit sanding block or power drywall sander to achieve the desired smoothness. Always sand in a circular motion and wear a dust mask to protect yourself from inhaling particles.
8. Finishing Touches
After sanding, inspect for any rough spots or imperfections and touch up where needed. Priming the drywall before finish painting is critical to properly seal the drywall and hide the seams. It will provide a better finish and enhance the color of your selected paint.
9. Know When to Call for Help
If at any point during the process you feel overwhelmed or unsure, don’t hesitate to consult with a professional. Collaboration can lead to improved results and provide valuable insights that enhance your skills.
With these 9 essential tips in mind, you’re well-equipped to tackle your drywall installation project with confidence. From preparation to finishing techniques, each step plays a crucial role in achieving a seamless and professional-quality finish.